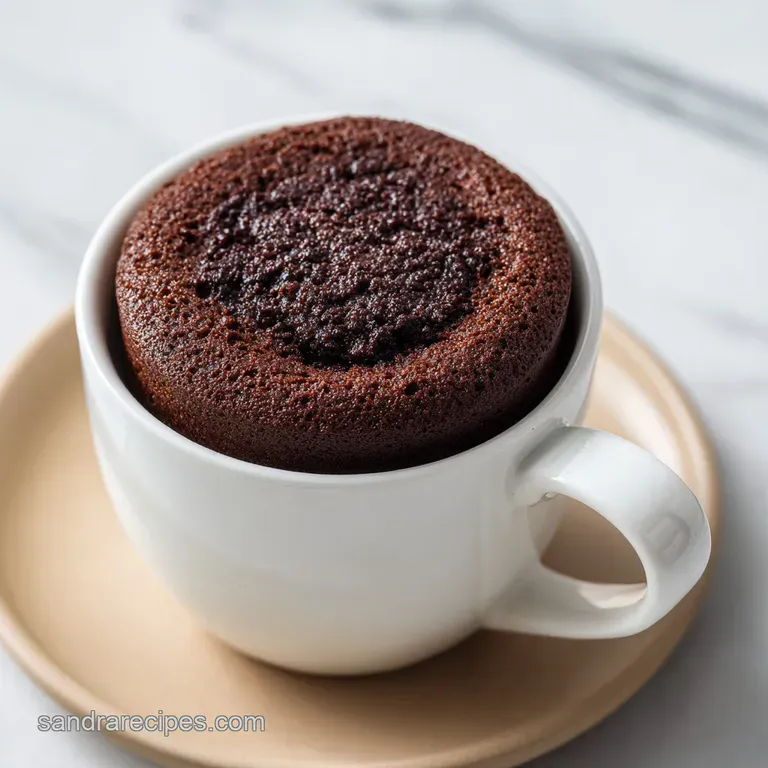
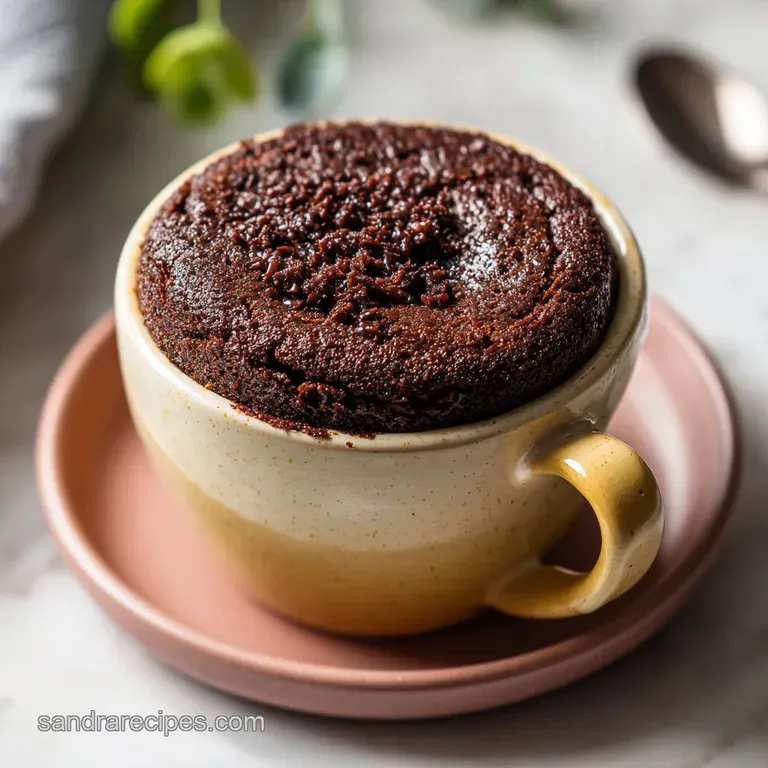
Quick Microwave Chocolate Mug Cake: Fudgy and Rich
- Time: 1 min active + 1 min cooking + 1 min resting = Total 3 mins
- Flavor/Texture Hook: Fudgy, velvety chocolate with a gooey center
- Perfect for: Late night cravings, single serve treats, or beginner friendly baking
- The Best quick microwave mug cake recipe
- What Makes it Fudgy
- The Component Analysis
- The Essential Ingredient List
- Step by Step Guide
- Fixing Common Mug Cake Issues
- Troubleshooting Common Issues
- Fun Flavor Twists
- Truth About Microwave Baking
- Saving and Reheating Tips
- Making It Look Great
- Recipe FAQs
- 📝 Recipe Card
The Best quick microwave mug cake recipe
That smell of warm, melting chocolate hitting the air is honestly the best part of my Tuesday nights. I remember one specific evening when it was pouring rain outside, and I was craving something sweet, but the thought of preheating a massive oven and scrubbing three different mixing bowls felt like a chore.
I just wanted a tiny, warm piece of heaven without the cleanup.
Most people think microwave desserts are just sad, spongy substitutes for the real thing. I used to believe that too. I once tried a version that tasted more like a wet sponge than a cake, and I almost gave up on the whole concept.
But once I stopped treating the microwave like an oven and started treating it like a steamer, everything changed.
This quick microwave mug cake recipe is all about that contrast, a rich, dark chocolate base paired with a molten, gooey core of chocolate chips. It is a single serve miracle that takes less time to make than it does to scroll through a few social media posts.
Trust me, once you see how velvety this turns out, you will stop reaching for the pre packaged brownies.
What Makes it Fudgy
I used to wonder why some mug cakes come out like rubber and others feel like actual cake. It turns out, it is all about how the microwave handles moisture. Since microwaves heat water molecules rapidly, they can easily evaporate too much liquid, leaving you with a tough, chewy mess.
Steam Trapping: The high walls of the mug trap steam, which helps the cake rise quickly without needing a long bake time.
Fat Stability: Using oil instead of butter keeps the crumb softer at room temperature, according to guidelines on Serious Eats, because oil doesn't solidify like butter does.
Low Protein Load: Skipping the egg prevents the proteins from over coagulating, which is the main reason microwave cakes often turn rubbery.
Sugar Melting: The sugar doesn't just sweeten, it liquefies during the 60 second blast, creating that syrupy, fudgy consistency.
| Method | Total Time | Texture | Best For |
|---|---|---|---|
| Microwave | 3 minutes | Soft, steamed, fudgy | Immediate cravings |
| Oven | 25 minutes | Crisp edges, airy | Dinner parties |
| Stovetop | 15 minutes | Dense, moist | No oven households |
The Component Analysis
Before we dive into the mixing, it is helpful to understand what each part of this recipe is actually doing. It is not just random measurements, there is a reason for every gram.
| Ingredient | Science Role | Pro Secret |
|---|---|---|
| All purpose Flour | Structure | Sift it if you see clumps to avoid "flour pockets" |
| Cocoa Powder | Flavor/Color | Use Dutch processed for a darker, smoother taste |
| Baking Powder | Lift | Fresh powder is non negotiable for the rise |
| Vegetable Oil | Moisture | Provides a more consistent velvety crumb than butter |
The Essential Ingredient List
For this recipe, accuracy is everything. Since we are working with such small amounts, a difference of one tablespoon can change the texture from "cake" to "pudding".
For the Dry Base
- 4 tbsp (30g) all purpose flour Why this? Provides the basic structure for the cake.
- 2 tbsp (25g) unsweetened cocoa powder Why this? high-quality cocoa gives a deep, bitter contrast to the sugar. Check King Arthur Baking for the best cocoa types.
- 2 tbsp (25g) granulated sugar Why this? Essential for sweetness and moisture retention.
- 1/4 tsp (1g) baking powder Why this? Creates the bubbles that make it light.
- 1 pinch (0.5g) salt Why this? Balances the sweetness and enhances chocolate.
For the Wet Ingredients
- 3 tbsp (45ml) whole milk Why this? Adds richness and hydrates the flour.
- 1 tbsp (15ml) vegetable oil Why this? Keeps the cake moist and prevents it from drying out.
- 1/4 tsp (1.25ml) vanilla extract Why this? Adds a layer of aromatic warmth.
For the Molten Core
- 1 tbsp (15g) semi sweet chocolate chips Why this? These create little pockets of melted chocolate.
| Original Ingredient | Substitute | Why It Works |
|---|---|---|
| Whole Milk | Almond Milk | Similar liquid ratio. Note: Slightly less rich |
| Vegetable Oil | Melted Butter | Adds a nutty flavor. Note: Can make the cake denser |
| Semi sweet Chips | Dark Chocolate | Higher cocoa content. Note: Less sweet, more intense |
Right then, let's get into the actual process. One thing I've learned the hard way: do not use a tiny espresso cup. You need a standard 12 oz mug, or you will end up with a chocolate volcano all over your microwave floor.
Step by step Guide
- Combine the flour, cocoa powder, sugar, baking powder, and salt directly in a 12 oz microwave safe ceramic mug. Note: This saves you from washing a separate bowl.
- Use a fork to whisk the dry ingredients until the color is uniform and no large clumps of cocoa remain.
- Pour in the milk, vegetable oil, and vanilla extract.
- Stir gently until the batter is smooth and velvety, stopping as soon as flour streaks disappear. Note: Overmixing creates a tough cake.
- Drop the chocolate chips directly into the center of the batter without stirring them in. Note: This keeps them concentrated in the middle for a molten core.
- Place the mug in the center of the microwave.
- Heat on high for 60 seconds until the top looks set but slightly tacky.
- Let the cake sit for 1 minute to allow the residual heat to finish setting the crumb.
Chef's Tip: If you want an extra rich experience, add a tiny pinch of espresso powder to the dry ingredients. It doesn't make the cake taste like coffee, but it makes the chocolate taste more "chocolatey".
Fixing Common Mug Cake Issues
Even with a simple quick microwave mug cake recipe, things can go sideways. Usually, it is because of microwave wattage differences or over mixing.
Troubleshooting Common Issues
| Issue | Solution |
|---|---|
| Why Your Cake is Rubbery | If your cake feels like a bouncy ball, you probably overcooked it or over stirred the batter. When you mix flour too much, you develop gluten, which is great for bread but terrible for a tender cake. |
| Why the Batter Overflowed | This usually happens if the mug is too small or if you used too much baking powder. A 12 oz mug is the sweet spot. If you use a smaller cup, the cake has nowhere to go but up and over the sides. |
| Why the Center is Raw | This is often caused by not letting the cake rest. The cooking process doesn't stop the moment the timer beeps. The residual heat continues to cook the center for about a minute after it comes out. |
Common Mistakes Checklist
- ✓ Used a 12 oz mug to prevent overflow
- ✓ Whisked dry ingredients to remove cocoa lumps
- ✓ Stopped stirring once the batter was smooth
- ✓ Let the cake rest for a full 60 seconds
- ✓ Centered the mug in the microwave for even heating
Fun Flavor Twists
If you find yourself making this often, you can easily tweak the base. For those who prefer something a bit more classic, a vanilla mug cake approach works by simply removing the cocoa and adding an extra splash of vanilla.
If you want to go full decadent, try adding a tablespoon of peanut butter to the center before cooking. It creates a Reese's style core that is absolutely irresistible. For something more substantial, you might prefer a full tray of fudgy brownies, but for a quick fix, this mug version is unbeatable.
Decision Shortcut:
- If you want it more like a brownie, reduce the baking powder by half.
- If you want it more like a sponge cake, add 1 extra tablespoon of milk.
- If you want a molten center, add a teaspoon of Nutella in the middle.
| Variant | Addition | Impact |
|---|---|---|
| Peanut Butter | 1 tbsp PB | Salty, creamy core |
| Minty | 1 drop peppermint extract | Refreshing, "thin mint" vibe |
| Nutty | 1 tbsp crushed walnuts | Added crunch and earthiness |
Truth About Microwave Baking
There are a lot of myths out there about easy things to bake in the microwave. Let's clear a few things up.
Myth: You need an egg for structure. Truth: In a full sized cake, yes. But in a single serve mug cake, an egg often makes the texture rubbery and gives it a "sulfury" smell. The flour and milk are enough to hold this together.
Myth: Microwave cakes are always dry. Truth: They only get dry if you overcook them. Since they cook so fast, 10 extra seconds can be the difference between a fudgy cake and a piece of charcoal.
Saving and Reheating Tips
Honestly, this cake is best eaten the second it finishes its resting period. But if you have leftovers (which is rare), you can store the mug in the fridge for up to 2 days.
To reheat, just pop it back in the microwave for 15-20 seconds. Don't go longer, or you will dry it out. If you are looking for other quick, single serve ideas, my edible cookie dough is another great option for when you don't want to deal with a full oven.
For zero waste, if you have a bit of leftover batter in the mug, don't toss it. Just add a teaspoon of water or milk, stir, and microwave for another 30 seconds for a "chocolate scrap" treat.
Making It Look Great
You don't have to eat this straight from the mug, though that is the cozy way to do it. To make it look like a real dessert, carefully run a knife around the edge and invert the cake onto a small plate.
Top it with a dollop of whipped cream or a scoop of cold vanilla ice cream. The contrast between the hot, velvety cake and the freezing cream is what makes this feel like a restaurant dessert.
A sprinkle of powdered sugar or a few fresh raspberries on top adds a bright, tart note that cuts through the richness of the chocolate. It is a simple way to turn a 3 minute treat into something that feels truly special.
Recipe FAQs
How to make a quick microwave mug cake?
Combine dry ingredients in a 12 oz mug, stir in wet ingredients, and microwave on high for 60 seconds. Let the cake sit for 1 minute after cooking to finish setting the crumb.
How do you make a 3 ingredient microwave cake?
No, this specific recipe requires nine ingredients for a velvety texture. Versions with only three ingredients typically lack the structure and lift provided by baking powder and flour.
How to make a 2 minute mug cake?
Whisk ingredients in a mug and heat on high for 60 seconds. This process takes exactly 1 minute of prep and 1 minute of cooking.
How to make a 5 minute microwave cake?
Follow the 60-second cook time regardless of total preparation. Heating the batter for 5 minutes will overcook the cake, making it rubbery and dry.
Why is my mug cake rubbery?
Stop stirring the moment flour streaks disappear. Overmixing develops gluten, which creates a bouncy texture; if you enjoyed mastering this tender crumb here, the same fat-to-flour logic applies to our fudgy brownies.
Can I use a smaller cup than 12 oz?
No, use a 12 oz ceramic mug. Smaller cups do not provide enough headspace, which often causes the batter to overflow during the rise.
Is it true that the cake is ready as soon as the microwave beeps?
No, this is a common misconception. You must let the cake rest for 1 minute to allow residual heat to fully set the interior.
Quick Microwave Mug Cake

